My plank ended up a little stretched as the image I used for the texture was not the correct size and shape for the box that I made.
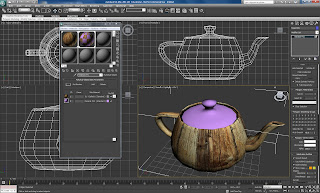
The second object we put a material to was a teapot. I used the teapot tool in order to create the teapot and made the two sections of the teapot different materials. I did this by using sub object perameters, I then selected just the teapot lid and applied the material, this gave me a wooden teapot with a pink lid:
I then opened up my tutorial from week one (Whitehouse building) and put materials to this. I didn't make it white stone, I experimented with different materials to see what it looked like, it ended up looking like a barn ...
The materials took me a little while to get the hang of but I can see it being extremely useful when it comes to creating the Da Vinci model.


No comments:
Post a Comment